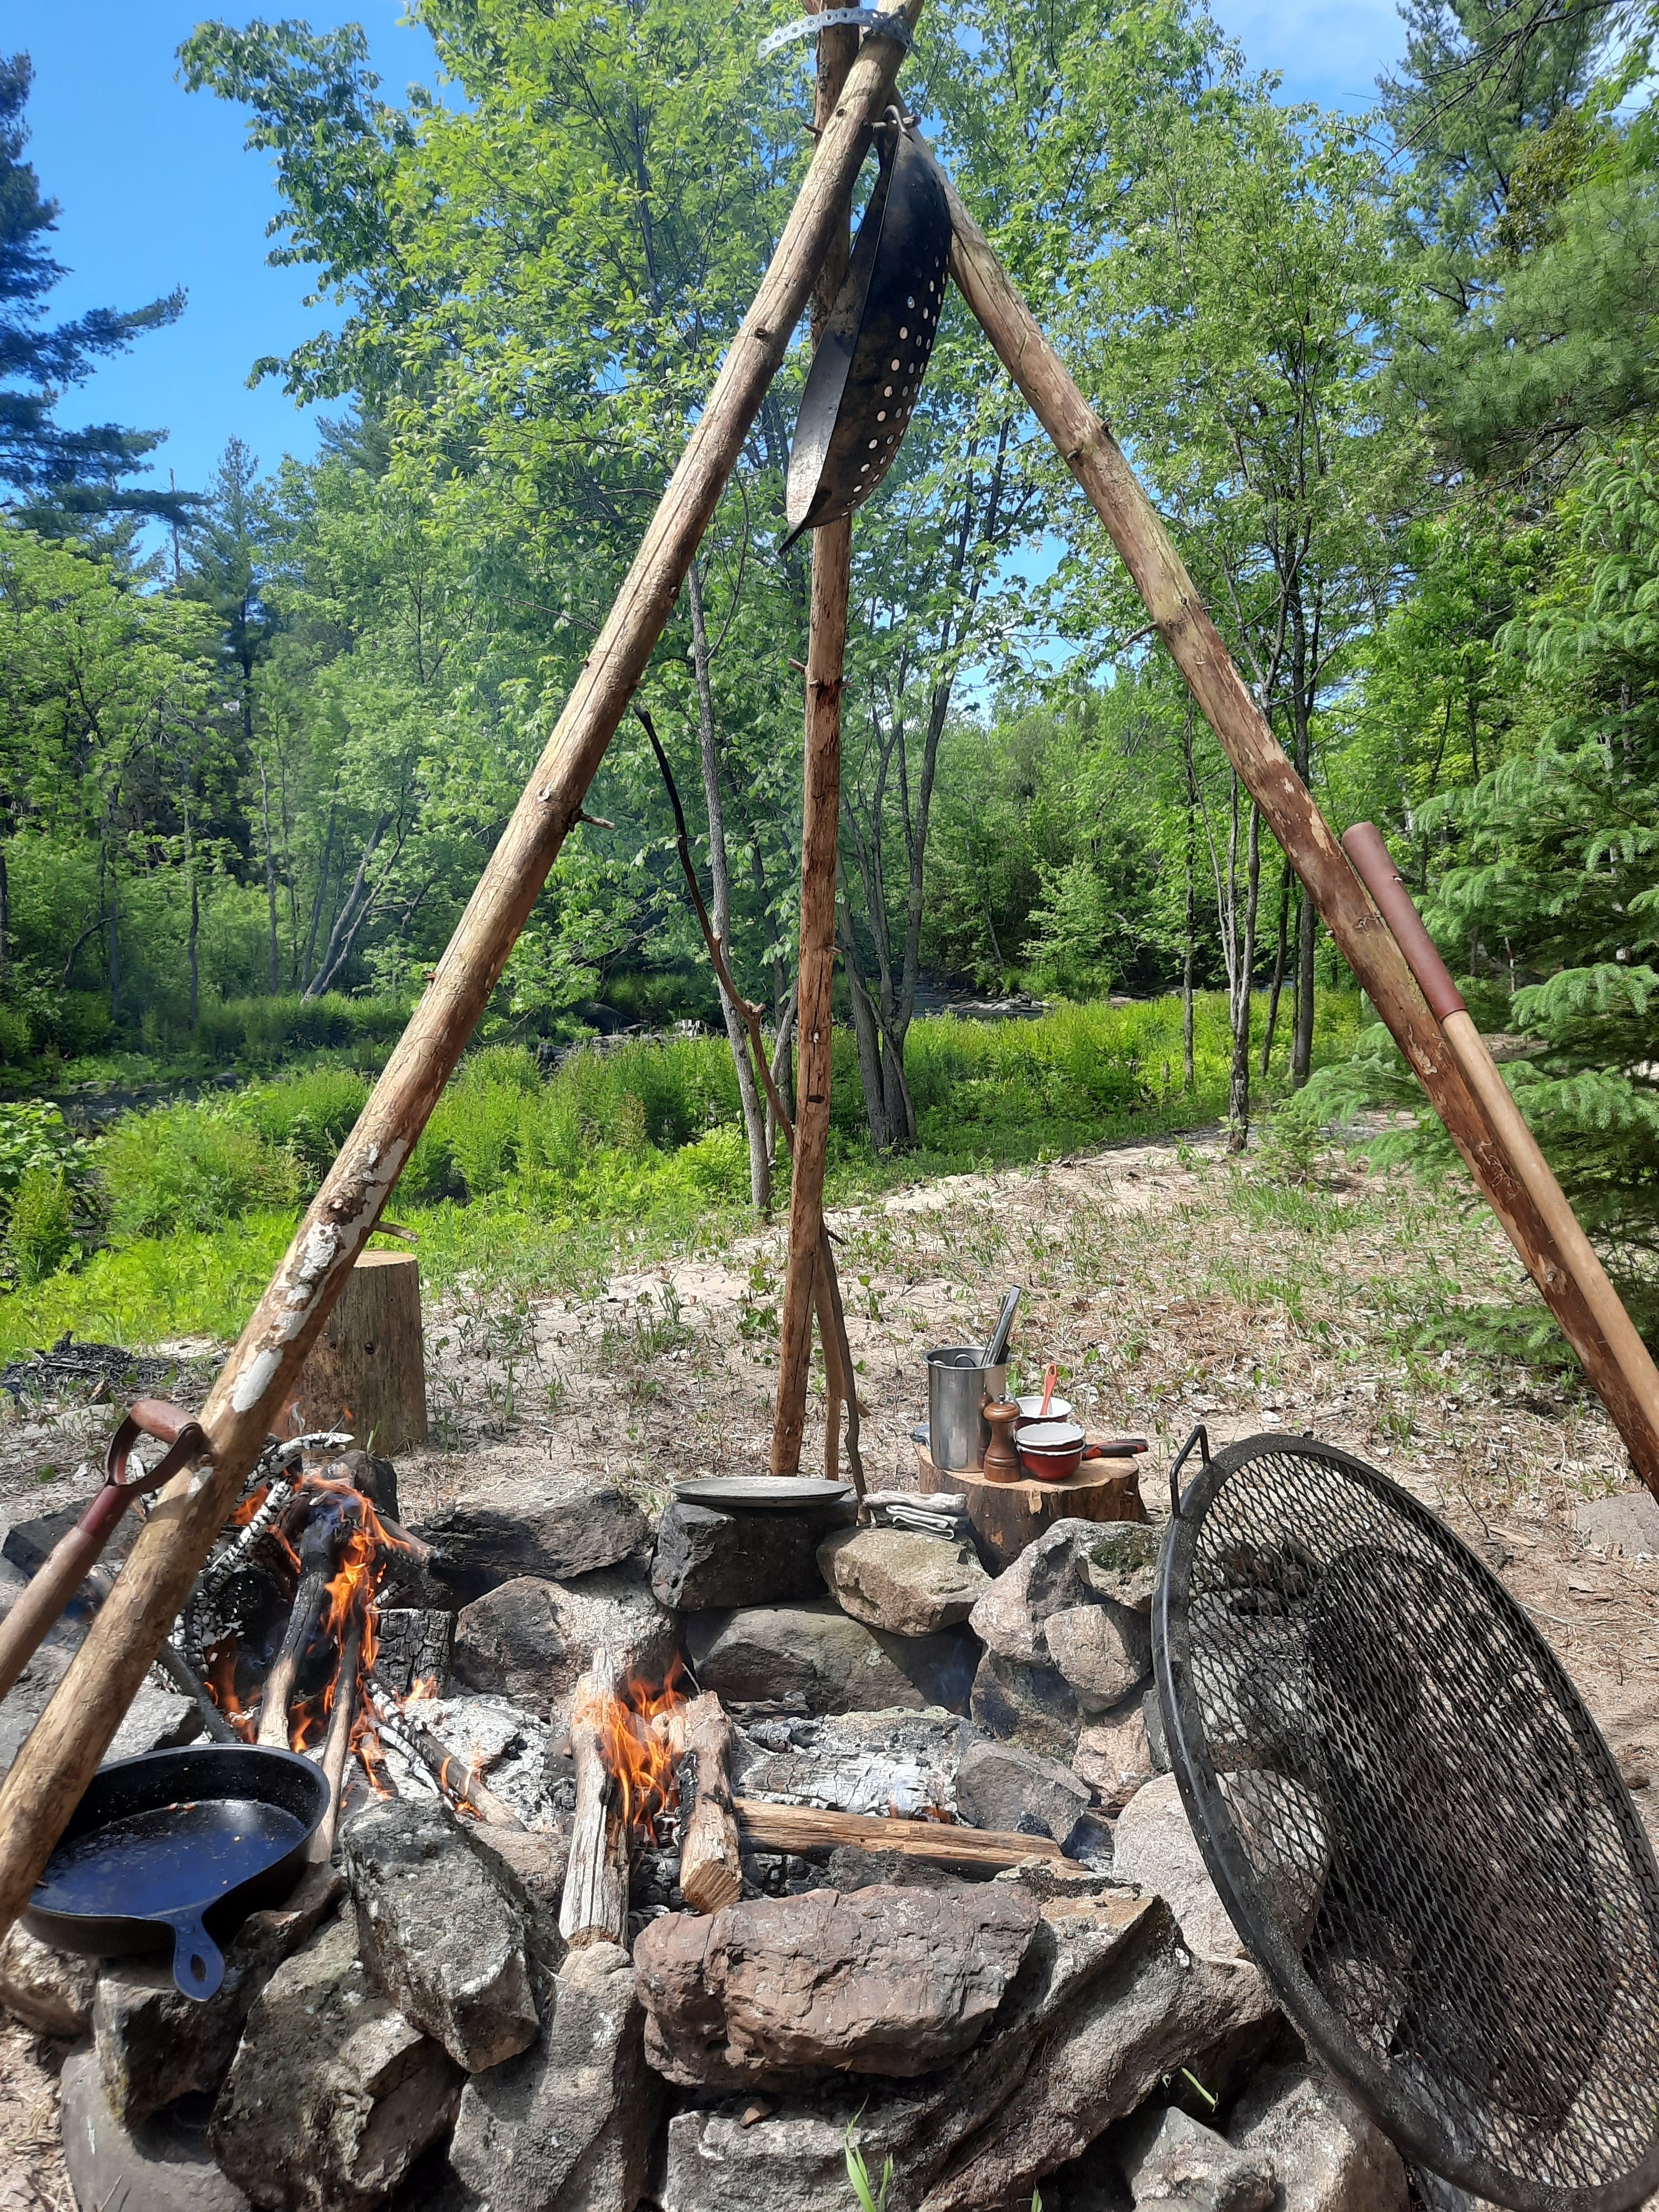
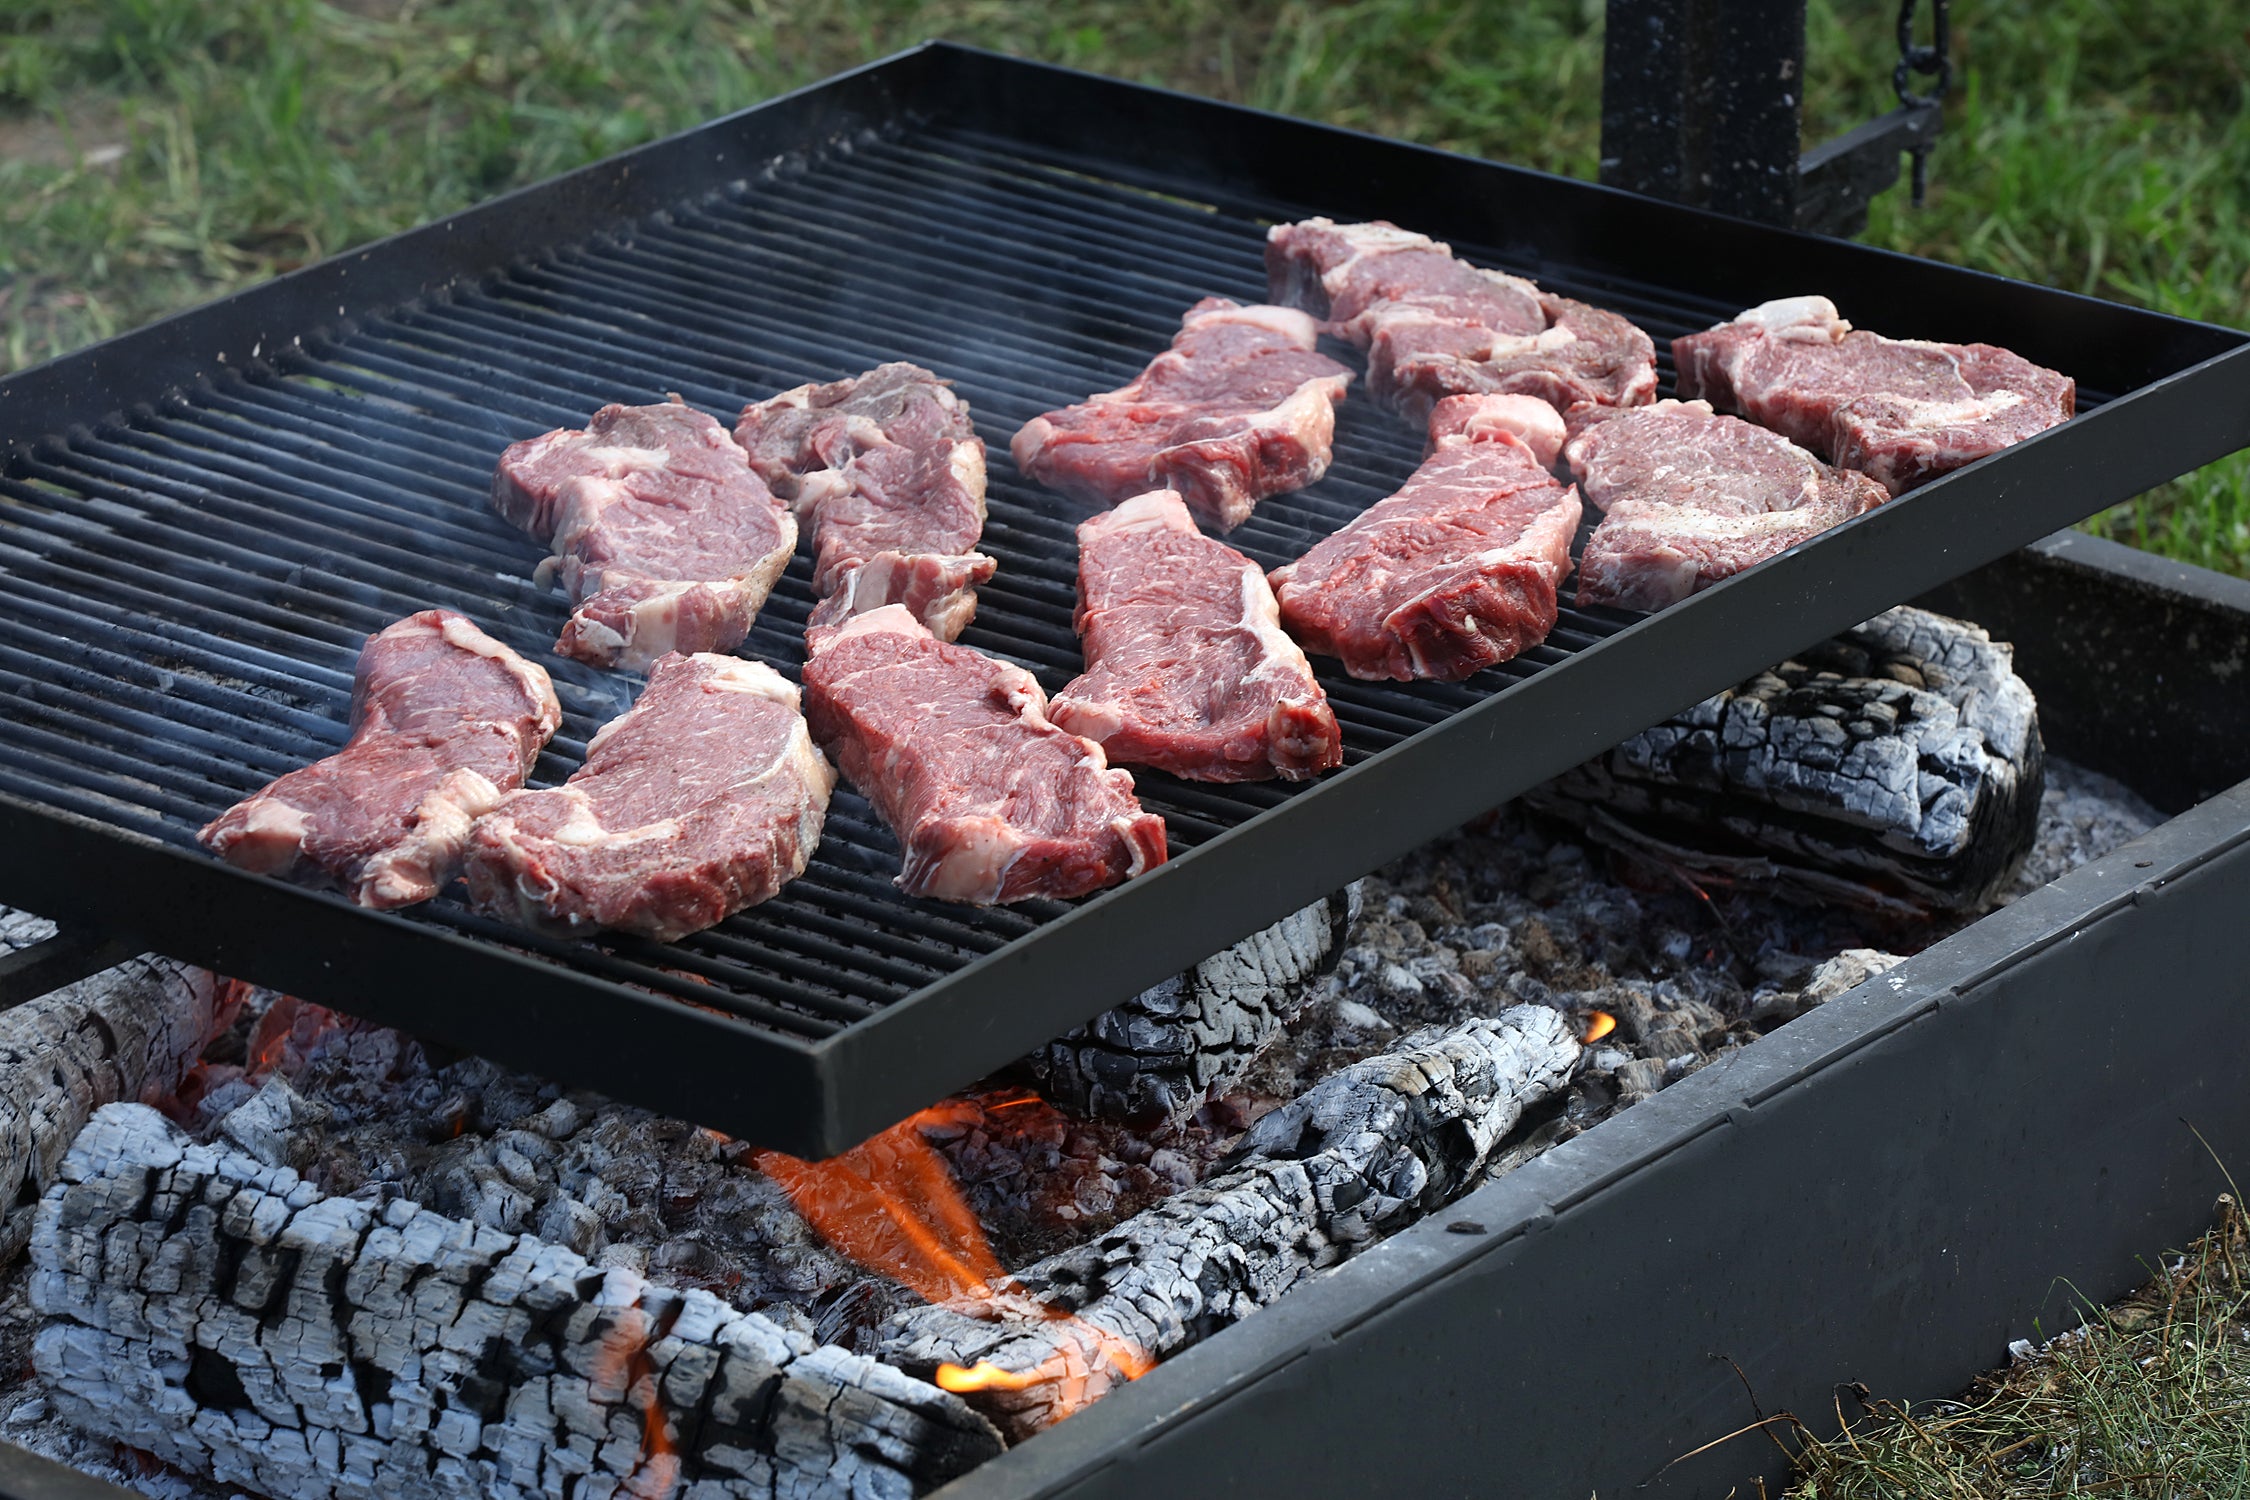
There's nothing quite like the rustic, smoky flavor of beef cooked over an open fire. It’s a timeless way to enjoy a delicious meal, whether you're deep in the wilderness or just enjoying a summer evening in your own backyard.
This week, we're breaking down everything you need to know to master the art of open-fire cooking.
Part 1: Start with the Perfect Cut
The cut of beef you choose will make all the difference. For open-fire cooking, look for thicker cuts with good marbling—the intramuscular fat that melts during cooking to keep the meat juicy and flavorful.
 For Grilling:
-
Enright Ribeye: A universal favorite for its rich flavor and tenderness.
-
Enright Fillet Mignon: A tender filet
-
Enright Striploin: A well-marbled, flavorful, and classic choice.
-
Enright Sirloin: A great budget-friendly option that doesn't skimp on taste.
 For Spit-Roasting:
-
Enright inside or outside round: An excellent and sturdy cut for slow-roasting on a spit.
-
Enright Sirloin tip: A great beefy flavor cut for slow-roasting
-
Enright Ribeye Roast: For a truly decadent and impressive fireside feast.
 For a Cast-Iron Skillet:
-
Any of the Enright grilling cuts work beautifully. Thinner, quick-cooking cuts like flank or skirt steak are also fantastic for a rapid, high-heat sear.
Part 2: Build a Better Fire
The secret to great fire cooking is to cook over glowing coals, not roaring flames. Flames will scorch the outside of your steak while leaving the inside raw.
-
Wood Choice: Stick to hardwoods like oak, hickory, mesquite, or fruitwoods. They burn hotter and longer, creating the perfect bed of embers and adding a delicious smoky flavor. Avoid softwoods like pine, which can impart a sooty, unpleasant taste.
-
Burn-Down Time: Start your fire a good 30-60 minutes before you plan to cook. This gives the wood time to burn down into a bed of hot, glowing coals.
-
Two-Zone Cooking: This is a pro technique! Bank the majority of your hot coals to one side of the fire pit or grill. This creates a scorching hot "direct heat" zone for searing and a cooler "indirect heat" zone for gently finishing the cook.
Part 3: Grilling a Perfect Steak
This classic method is perfect for getting that incredible crust.
What You'll Need: A clean grill grate and long-handled tongs.
-
Prepare the Steak: Let your steak sit at room temperature for 30-60 minutes. Pat it completely dry with a paper towel (this is key for a good sear!) and season generously with coarse salt and freshly ground black pepper or your favorite steak rub.
-
Position the Grate: Place your grill grate over the coals to get it nice and hot.
-
Sear for Success: Place the steak on the hot "direct heat" side of the grill. Let it sear for 2-4 minutes per side until a beautiful, dark crust forms.
-
Cook to Perfection: Move the steak to the cooler "indirect heat" side to finish cooking. This prevents the outside from burning while the inside comes up to temperature.
-
Rest the Steak: This step is non-negotiable! Once your steak reaches the desired temperature, remove it from the grill and let it rest on a cutting board for 5-10 minutes. This allows the juices to redistribute, ensuring every bite is flavorful and tender.
Pro-Tip: The "Palm Test"
No meat thermometer? No problem. You can gauge steak doneness with your hand. It's a skill that takes practice, but it's incredibly handy.
Hold one hand open and relaxed. Use the index finger of your other hand to poke the fleshy part at the base of your thumb, then poke your steak to compare the firmness.
-
Raw: Relax your hand. The fleshy part is soft and squishy.
-
Rare (125°F): Touch your thumb to your index finger. The muscle tenses slightly but is still very soft.
-
Medium-Rare (135°F): Touch your thumb to your middle finger. It's firmer with a little springy resistance. This is the sweet spot for many!
-
Medium (145°F): Touch your thumb to your ring finger. The muscle is now quite firm with just a little give.
-
Well-Done (160°F): Touch your thumb to your pinky finger. The muscle is very firm and tense.
The Most Reliable Method: While the palm test is a great skill, a thermometer is the easiest way to guarantee consistent results every time. Simply insert it into the thickest part of the steak, avoiding bone.
 Safety First!
-
Always keep a bucket of water or a fire extinguisher nearby.
-
Use long-handled tools to protect yourself from the heat.
-
Wear heat-resistant gloves when handling hot grates or skillets.
-
Never leave a fire unattended.
-
Ensure your fire is completely out before you leave your site.
Enjoy the process, the fresh air, and the incredible results of your hard work.
Happy Grilling!


